What a Difference a Cell Makes
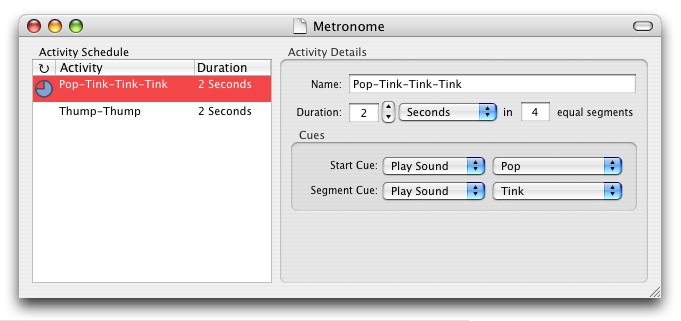
June 17th, 2006I’ve been bothered for a long time by a limitation of NSTextFieldCell that prevents developers from specifying a vertically centered alignment. This is particular annoying in contexts where Apple practically rolls out the red carpet for a particular UI feature, but where taking advantage of that feature is almost guaranteed to produce an ugly result. Take NSTableView for example. What is the most common cell type in a table? NSTextFieldCell of course. But what happens when you add the slightest bit of creativity to a table, say by changing the row height to a value not suited to the font size?

That’s bad enough, but let’s say you find good reason to reach for even taller table columns? It can only get worse from here:

In the past I’ve just worked around this problem by finding another way to present my UI. In other words: just keep the freakin’ table view rows shallow, or else live with the funny looking top-alignment of the text. Today I got fed up with that and decided to shoot for a general-purpose solution.
I didn’t want to implement my own completely custom text cell. NSTextFieldCell is pretty good, you know! It does a lot for me, and I’d like to continue taking advantage of that. Through a bit of experimentation, I discovered that I could make a pretty minor tweak to NSTextFieldCell and get the behavior I wanted. By overriding “drawingRectForBounds:” and returning, instead of the whole lot of real estate available to me, a centered subset of that area, I convinced AppKit to render the text in the middle like I wanted it:

Hey! That’s looking a lot better. I like it. It looks pretty. You know, like a Mac. But you know what doesn’t look pretty? When I double-click this bad boy and try to edit the text:

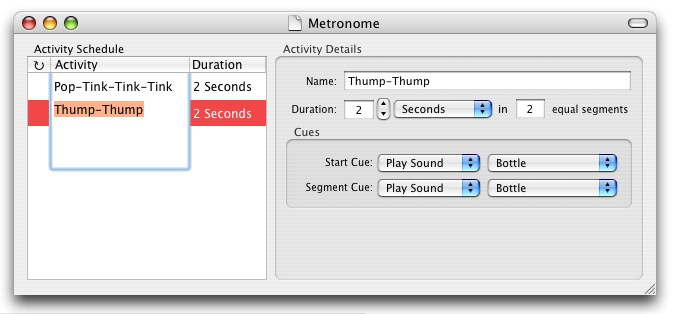
Ouch! That’s a pretty freaky looking user experience. Apparently NSTextFieldCell or some other component of AppKit is not used to having the drawing rect drastically adjusted without its knowledge. I might have to call this whole deal off. However bad top-aligned text in my table cell is, it’s a bajillion times less offensive than that. But then I realized that as a cell, I am given a lot of control over the edit process. What if I can limit my rect adjustment so that it’s normal while we’re editing, but weird (i.e. good) all the rest of the time?
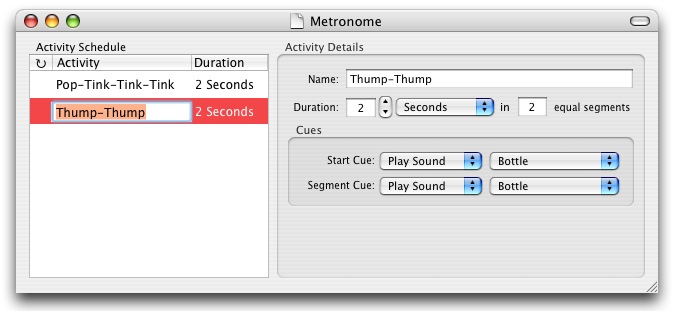
I added two methods to my custom subclass, overriding “selectWithFrame:…” and “editWithFrame:…”. In these methods, I use my rect calculation method to transform the proposed edit or selection rect into the more desirable “centered rect,” then I set a flag in the class “mIsEditingOrSelecting” which tells my rect calculator to stop the funny business. The result is an NSTextFieldCell with very little code that, as far as I can tell, behaves appropriately in all circumstances:

Good enough for beta software! But here’s where you come in. You want this sexy vertically aligned cell for your app, right? So let’s share and figure out whether it’s monumentally busted or not.
Download RSVerticallyCenteredTextFieldCell. MIT License. Pop it into your project and, upon waking from nib, set your text column data cells (or other text field cells, if you have good reason) to instances of it. Let me know if you spot any bugs!


June 19th, 2006 at 3:55 pm
I’ve been using a ValueTransfomer to present bound cell contents as NSAttributedString and applying an attribute of NSBaselineOffsetAttributeName with a new baseline. I haven’t tried it with editable cells yet but I suspect they won’t work as well as your solution.
June 20th, 2006 at 5:56 am
Great, I’ve used it succesfully in my own project. No bugs so far :)
Thanks for sharing!
June 22nd, 2006 at 7:52 am
I just found your blog and I’ve really enjoyed reading it. I’m a freelance writer working on a book about computer/tech advice and I could really use some help with some tips on Macs and other apple software. Let me know if you’re interested in helping (it wouldn’t take much time.)
Rikki
June 23rd, 2006 at 1:15 pm
Yes …
good work
is beautiful
thanks !
June 27th, 2006 at 7:31 am
Thank you! This is just what I needed for my current project. :-)
June 27th, 2006 at 11:45 pm
If you override drawWithFrame instead of drawingRectForBounds, you don’t have hack around whether you are editing or not. You will still need to override selectWithFrame and editWithFrame, but you can use the adjusted rect, which means the editor will have the proper height for the text as well.
I wasn’t smart enough to figure this out, I just noticed this is how “ImageAndTextCell.m” does it in Apple’s sample code =) So you end up with…
– (void)editWithFrame:(NSRect)frameRect inView:(NSView*)controlView editor:(NSText*)textObject delegate:(id)delegateObject event:(NSEvent*)theEvent
{
[super editWithFrame:[self drawingRectForBounds:frameRect] inView:controlView editor:textObject delegate:delegateObject event:theEvent];
}
– (void)selectWithFrame:(NSRect)frameRect inView:(NSView*)controlView editor:(NSText*)textObject delegate:(id)delegateObject start:(int)selStart length:(int)selLength
{
[super selectWithFrame:[self drawingRectForBounds:frameRect] inView:controlView editor:textObject delegate:delegateObject start:selStart length:selLength];
}
– (void)drawWithFrame:(NSRect)cellFrame inView:(NSView*)controlView
{
[super drawWithFrame:[self drawingRectForBounds:cellFrame] inView:controlView];
}
and can kill ‘mIsEditingOrSelecting’.
June 30th, 2006 at 7:06 am
Gerrit – thanks for sharing this. Unfortunately when I try this technique I still end up with obnoxiously large edit focus frames. I’m sticking with the current, working implementation for now!
August 19th, 2006 at 8:24 am
Daniel and others,
you can easily use IB only to assign the custom class text cell to any text table column. Just drag the class header to IB from XCode, use the IB Data Panel and drag standard “TextFieldCell” to the according table column. next select the small triangle appearing next to the columns name and choose “Custom Class” from IBs info panel … set RSVertically… as custom calss.
nice work anyhow!
volker
January 18th, 2007 at 1:46 pm
Thanks for sharing!
Volker: Thanks for that tip. The triangle didn’t display for me in the last column until I added a temporary column after it.